
STEP 01
CLEAN YOUR BOOTS
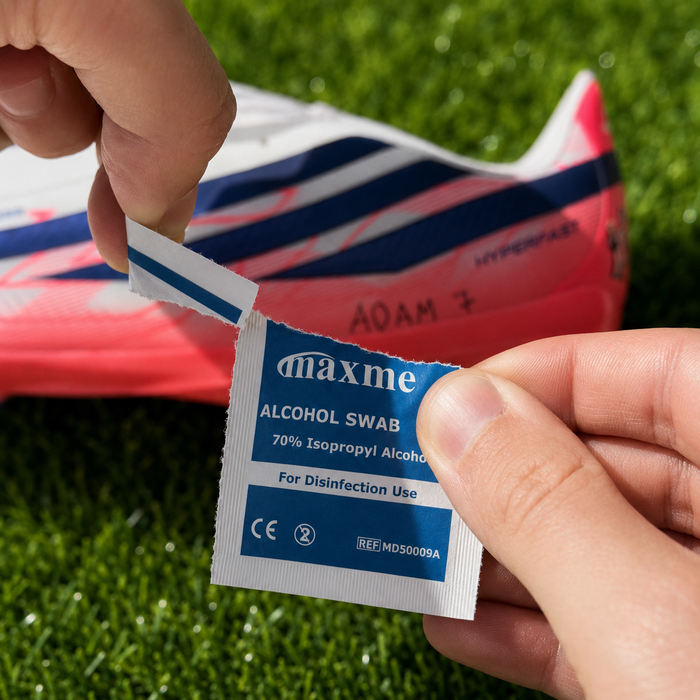
Using the alcohol priming wipe provided, clean the area of the boot you would like to stick the DNA to.
Personalise your boots in minutes.
Follow these simple steps to get the best possible finish from your Boot DNA designs.
STEP 01
Using the alcohol priming wipe provided, clean the area of the boot you would like to stick the DNA to.
STEP 02
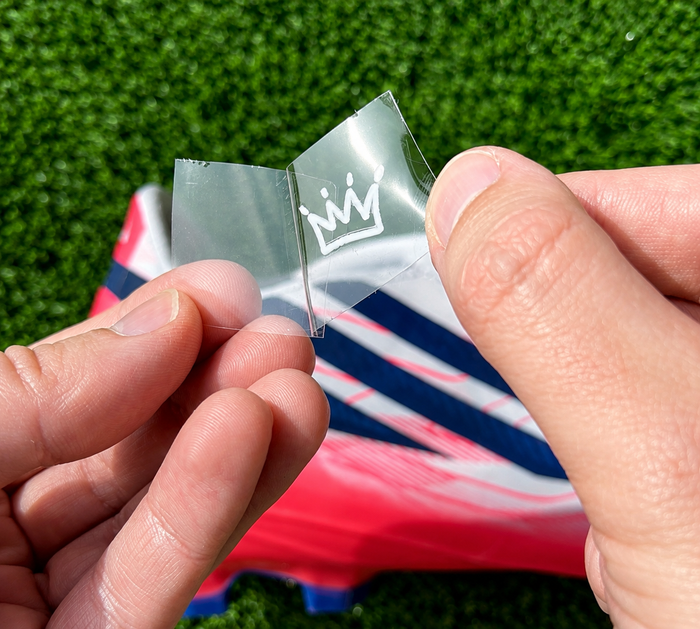
Carefully peel away the transfer layer, making sure your Boot DNA design stays attached.
STEP 03
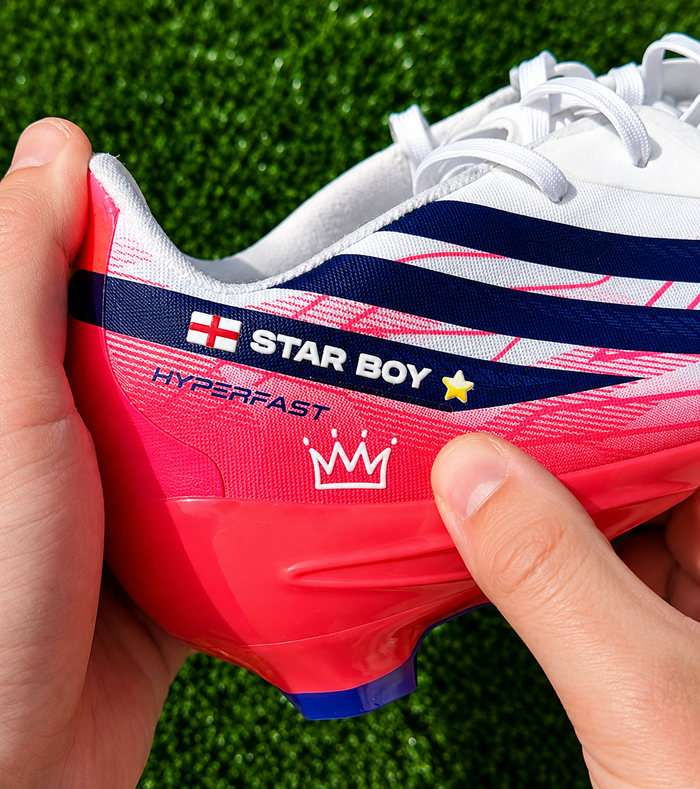
Place the design exactly where you want it. Rub firmly across the entire design, applying strong and even pressure.
STEP 04
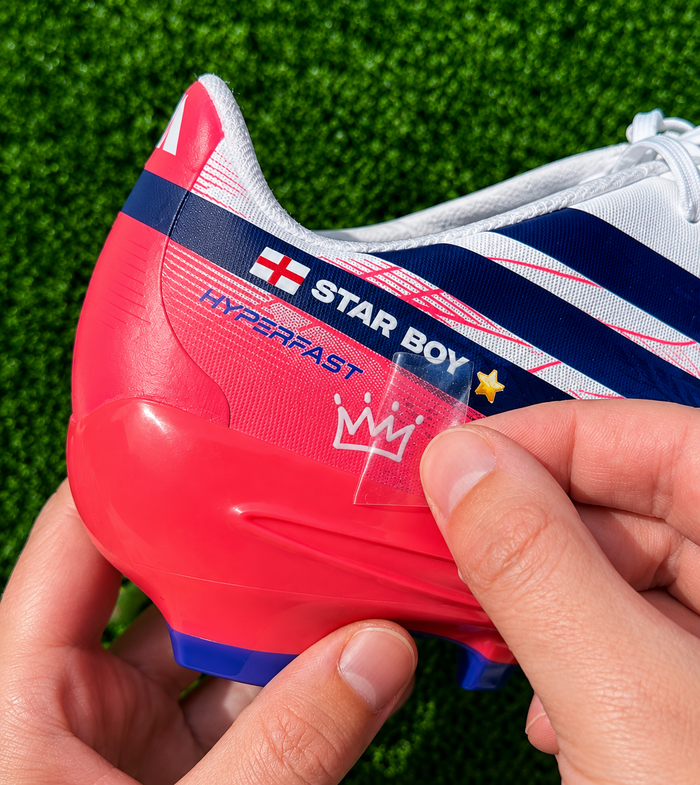
Slowly peel away the transfer layer. If any part of the design begins to lift, place it back down, apply more pressure and try again.
Smooth, firm areas of the boot provide the best adhesion. Avoid highly textured, knitted, fabric or heavily creased areas where possible.
The more textured the boot, the more important it is to firmly work the design into the surface.
For the strongest bond, we recommend applying your designs the night before playing rather than immediately before a match.
Modern elite-level boots can have extremely textured surfaces. Boot DNA can still be applied, but placement and application are especially important. Choose the smoothest area available, apply strong pressure across the entire design and allow plenty of time for it to bond before wearing the boots.
Once applied, clean around your designs using a damp cloth. Avoid aggressively scrubbing or picking at the edges of the design, as this can weaken the bond. Do not put personalised boots in a washing machine or completely soak them in water.
Having trouble applying your designs? Get in touch with our team and we'll be happy to help.
CONTACT US